面對許多的VPS都是小記憶體的情況,大的記憶體VPS方案又非常的貴,先前有提過,怎麼在Linux下,增加SWAP交換式記憶體。
但是,再怎麼說,還是實體記憶體的速度會比交換式的記憶體來的快,在效能考量下,我們把記憶體最佳化處理,會得到最大的效能產出。
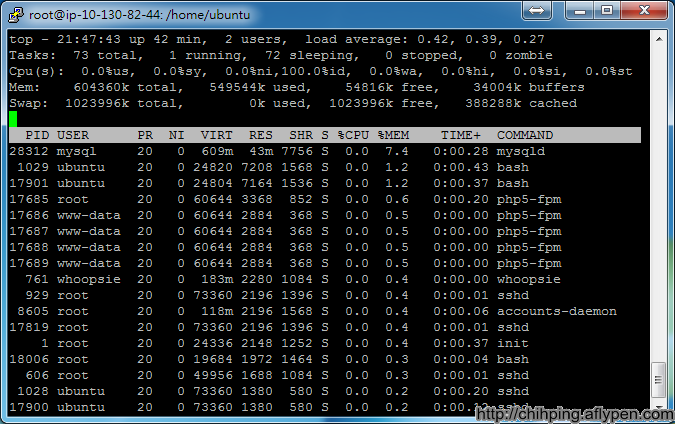
以亞馬遜EC2 Micro Instaces為例,還沒有優化之前的狀況,只剩下54MB左右的空間。
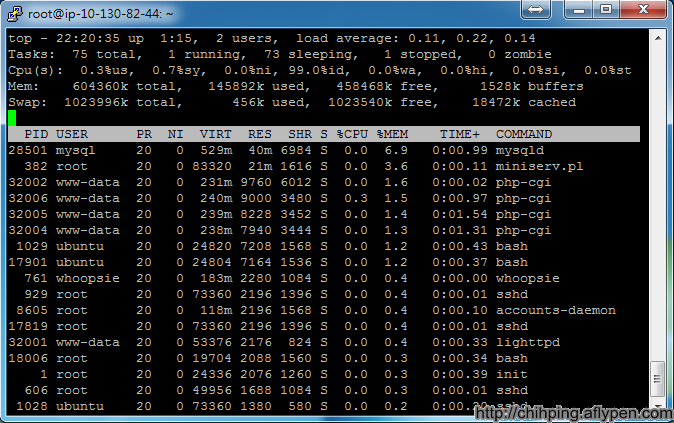
優化之後,只用掉145MB的空間,還有450MB左右的空間未使用,這時,mysql, web, webmin 等服務已經起來了,算是相當的給力。
要怎麼做呢?
首先,先做套件的更新與安裝
apt-get upgrade
apt-get dist-upgrade
apt-get autoclean
apt-get install perl gcc libnet-ssleay-perl openssl libauthen-pam-perl libpam-runtime libio-pty-perl apt-show-versions python
如果沒有裝資料庫的話,裝一下資料庫
apt-get install mysql-server mysql-client
mysql的記憶體優化,修改指令如下 vi /etc/mysql/my.cnf
[mysqld]
#
# * Basic Settings
#
user = mysql
pid-file = /var/run/mysqld/mysqld.pid
socket = /var/run/mysqld/mysqld.sock
port = 3306
basedir = /usr
datadir = /var/lib/mysql
tmpdir = /tmp
language = /usr/share/mysql/english
skip-external-locking
loose-skip-innodb
#
# Instead of skip-networking the default is now to listen only on
# localhost which is more compatible and is not less secure.
bind-address = 127.0.0.1
#
# * Fine Tuning
#
key_buffer = 8M
max_allowed_packet = 8M
thread_stack = 192K
thread_cache_size = 8
# This replaces the startup script and checks MyISAM tables if needed
# the first time they are touched
myisam-recover = BACKUP
#max_connections = 100
#table_cache = 64
#thread_concurrency = 10
#
# * Query Cache Configuration
#
query_cache_limit = 1M
query_cache_size = 8M
記得,修改完設定檔之後,記得要存檔,並且重新啟動mysql
service mysql restart
而Web server我們不使用傳統的apache,在ubuntu上,apache2就算再怎麼優化,仍然很佔記憶體,所以我們也不用內建的apache+php5-cgi,我們使用lighttp+php5-cgi(可以用php5-fpm取代)
安裝lighttpd
apt-get install lighttpd
安裝php相關套件
apt-get install php5-cgi php5-common php5-curl php5-gd php5-suhosin php5-mysql
修改lighttpd的設定檔
使用fast-cgi做為php的解譯引擎
vi /etc/lighttpd/lighttpd.conf
server.modules = (
“mod_access”,
“mod_fastcgi”,
“mod_alias”,
“mod_compress”,
“mod_redirect”,
“mod_rewrite”,
“mod_accesslog”,
)
server.document-root = “/var/www”
server.upload-dirs = ( “/var/cache/lighttpd/uploads” )
server.errorlog = “/var/log/lighttpd/error.log”
server.pid-file = “/var/run/lighttpd.pid”
server.username = “www-data”
server.groupname = “www-data”
fastcgi.server = ( “.php” => ((
“bin-path” => “/usr/bin/php-cgi”,
“socket” => “/tmp/php.socket”,
“max-procs” => 1,
“bin-environment” => (
“PHP_FCGI_CHILDREN” => “3”,
“PHP_FCGI_MAX_REQUESTS” => “1000”
),
“bin-copy-environment” => (
“PATH”, “SHELL”, “USER”
),
“broken-scriptfilename” => “enable”
)))
別忘了,修改完設定檔要重啟lighttpd
sudo service php5-cgi stop
sudo service lighttpd restart
正常來說,就可以讀取到網頁資料
我使用了雅黑探針,截圖如下
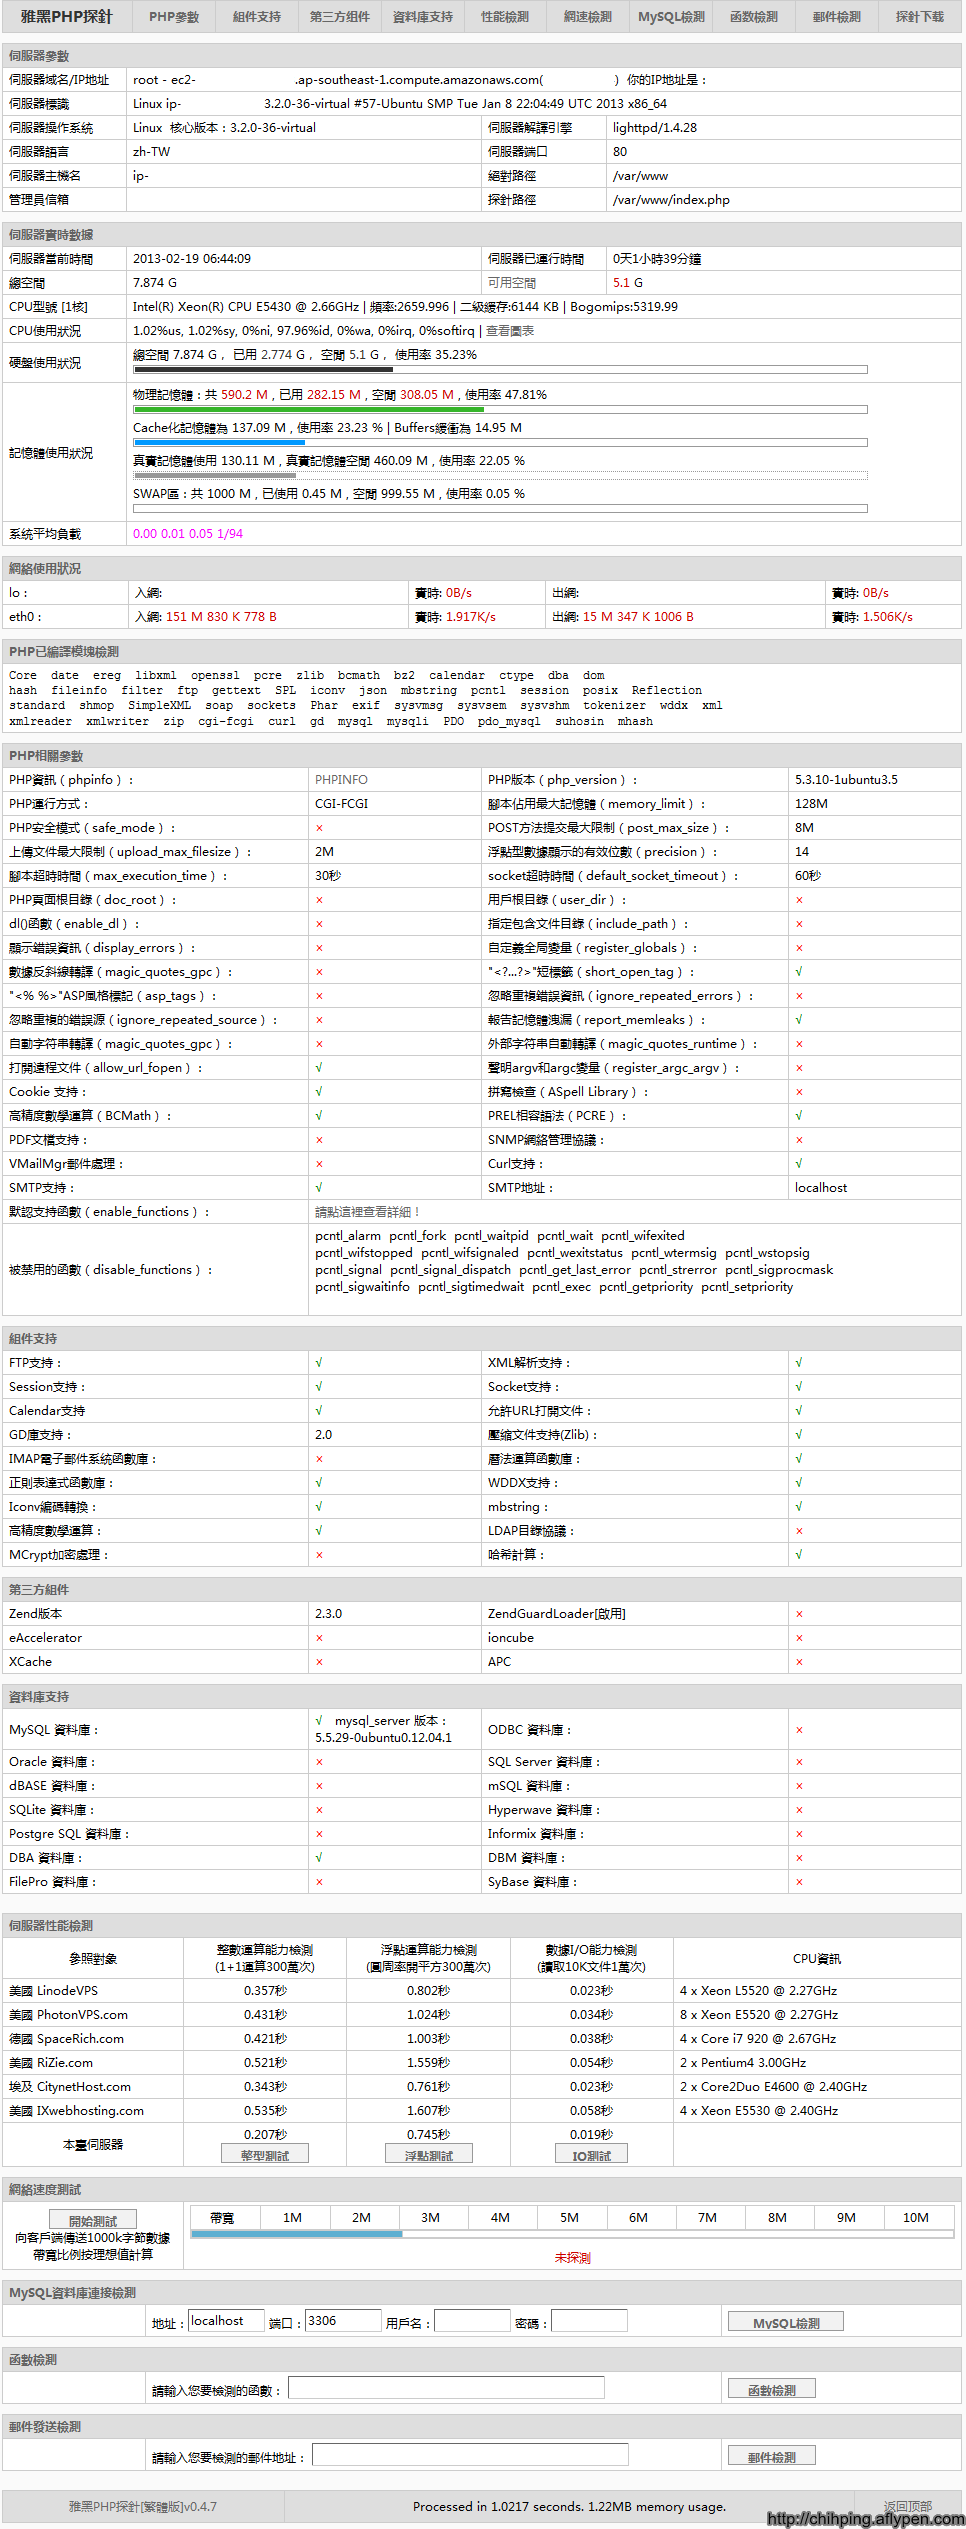
用起來,真是快樂的不的了。
隨機文章
- 受保護的內容: 中小企業的生存之道~晶玻實業~雷射水晶 (2008-01-01)
- 什麼暗黑3出現了Bot機器人自動打怪撿錢 (2012-06-06)
- Raspberry PI樹莓機開箱文 (2013-03-10)
- OpenWrt 18.06.1 with LuCI 安裝於 vmWare workstation Pro 14 (2018-12-08)
- 拍賣上買到超便宜的羅技 Logitech M330 無線滑鼠 Silent Plus 無線 靜音滑鼠 (2022-08-26)
隨機美圖


